Installing a gate on a wire fence can be a rewarding project, improving the functionality and appearance of your fencing. Whether you’re looking to create a new entryway into your garden or need a gate for practical reasons, this guide will walk you through the necessary steps. With some basic tools and a bit of patience, you’ll be able to install a gate with the help of a fencing contractor that looks great and stands the test of time.
Locate and Mark the Spot
The first step in installing a gate is to decide where it will go. Look for a level area that’s easily accessible. Once you’ve chosen the location, mark the ground where the gate posts will be installed. It’s important to ensure that the space is wide enough for your gate, plus a little extra for hardware and swinging space.
Digging a Post Trench
After marking the spot, the next step is to dig a trench for your gate posts. The depth of the trench should be at least one-third the height of your post to ensure stability. For example, if your posts are 6 feet tall, dig a trench about 2 feet deep. Make sure the trenches are straight and aligned with each other.
Mark and Cut Your Posts
Once your trenches are ready, it’s time to prepare your posts. Measure and cut your posts according to the height of your fence and the depth of your trenches. It’s crucial to cut them accurately to ensure they fit perfectly and provide a level frame for your gate.
Install the Posts
Place the posts into the trenches. Use a level to ensure they are straight and at the right height. Once they are correctly positioned, fill the trenches with concrete to secure the posts. Allow the concrete to cure as per the manufacturer’s instructions, usually for at least 24 hours.
Pre-Drill the Posts and Level Your Gate
Before attaching the gate, pre-drill holes in the posts to make the installation easier and to prevent the wood from splitting. Attach the gate hardware to the posts, ensuring that the gate is level. This step is crucial for the proper functioning of your gate.
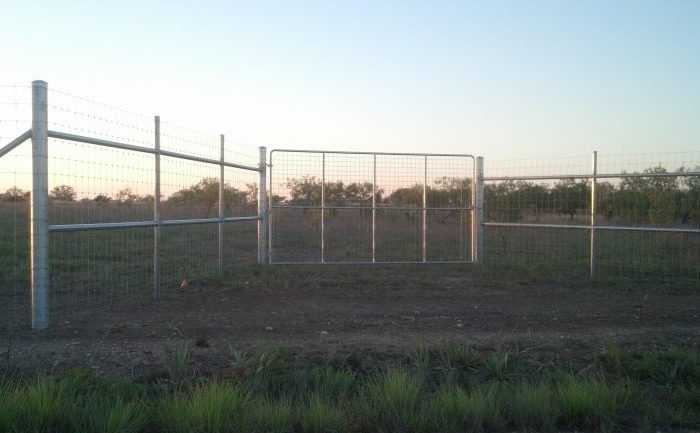
Measuring and Installing a Gate
Measure the distance between your posts and choose a gate that fits this space. Attach the gate to the hardware already installed on the posts. Ensure that the gate opens and closes smoothly and make any necessary adjustments.
Painting and Staining the Gate
To protect your gate and give it a finished look, consider painting or staining it. This not only enhances its appearance but also helps to protect the wood from the elements. Choose a paint or stain that complements your fence and apply it following the manufacturer’s instructions.
Contact LE Fence Company for a Gate for Your Wire Fence
For those who prefer a professional touch, LE Fence Company is an excellent choice for installing a gate on your wire fence. As experienced fencing contractors, we can provide expert advice, quality materials, and skilled installation to ensure your gate is both beautiful and functional. Contact us to learn more and request a quote.